안녕하세요?
최근 들어 저의 최애 툴인 NextJS와 TailwindCSS에 요즘 공부 중인 Typescript을 추가로 설치하는 방법에 대해 알아볼까 합니다.
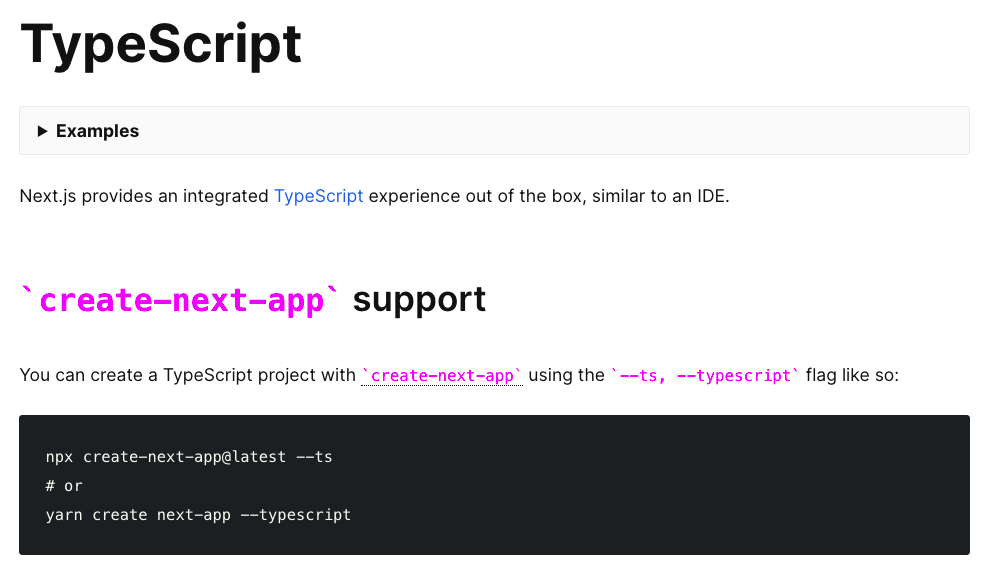
NextJS 공식 홈페이지에서는 다음과 같은 옵션으로 NextJS와 Typescript을 설치할 수 있는데요.
npx create-next-app@latest --ts

# or

yarn create next-app --typescript
이렇게 NextJS와 Typescript을 설치한 후 TailwindCSS를 수동으로 설치할 수 있는데요.
이것보다는 NextJS + TailwindCSS를 먼저 설치한 후 Typescript을 추가하는 것이 좀 더 편하기 때문에 이 방법을 알아보겠습니다.
먼저, 다음과 같이 NextJS + TailwindCSS 템플릿을 이용한 create-next-app을 실행시키십시오.
npx create-next-app nextauth-credentials-example -e with-tailwindcss

# or

yarn create next-app  nextauth-credentials-example -e with-tailwindcss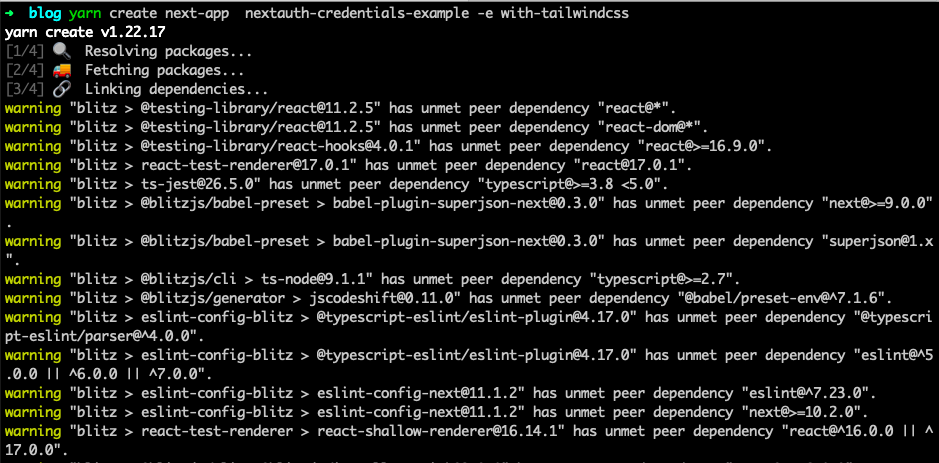
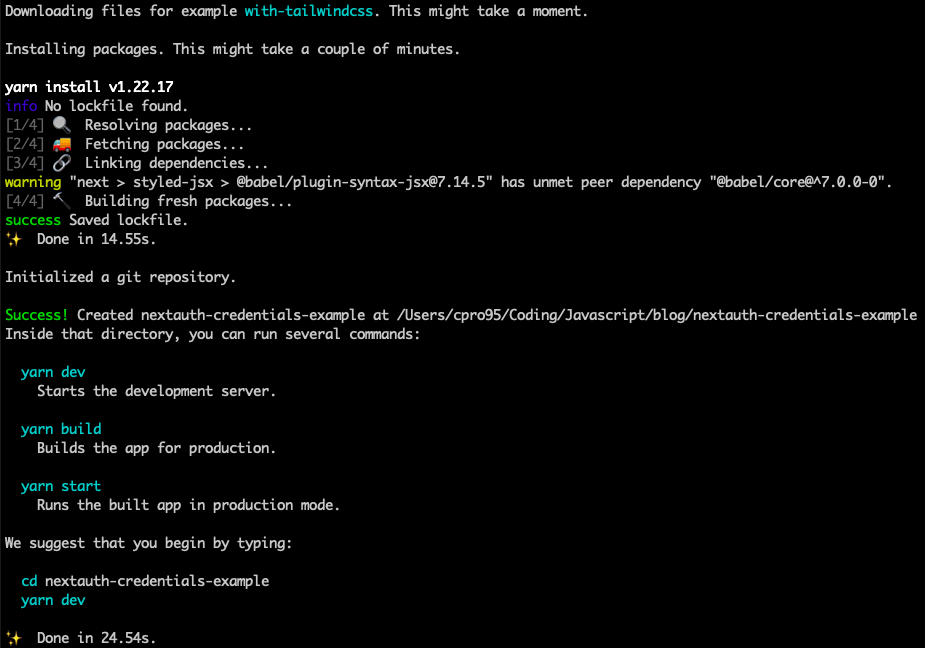
-e 옵션을 쓰면 tailwindCSS 템플릿을 다운로드해서 NextJS앱을 만듭니다.
이제 아까 만들었던 폴더로 이동해서 내용을 볼까요?
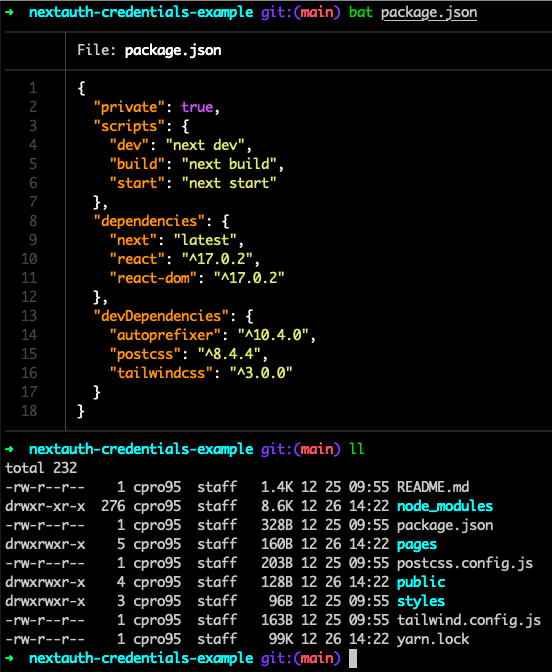
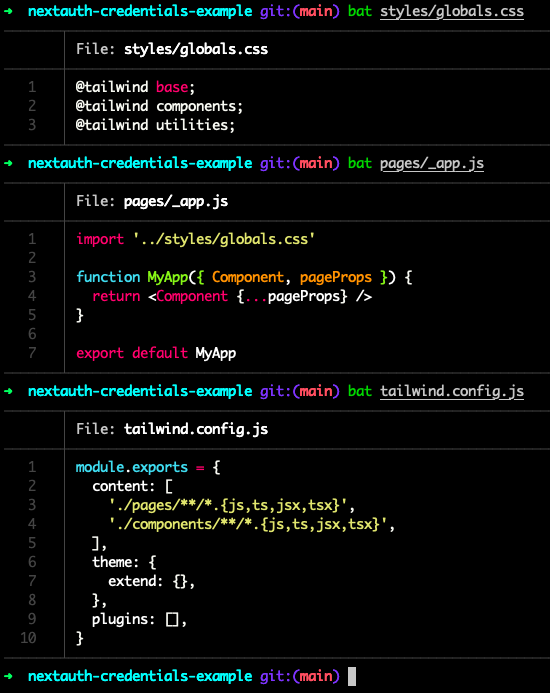
package.json 파일과 전체 폴더 구조인데요.
역시나 tailwind.config.js 파일이 있고 tailwindCSS 관련 세팅도 완결된 모양입니다.
이제 우리가 원하는 Typescript을 설치해야 하는데요.
Typescript을 React와 같이 쓸려면 다음과 같이 3가지가 필요합니다.
typescript와 @types/node, @types/react 가 필요합니다.
이제 이걸 --save-dev 방식으로 설치합시다.
npm i -D typescript @types/node @types/react

# or

yarn add -D typescript @types/node @types/react
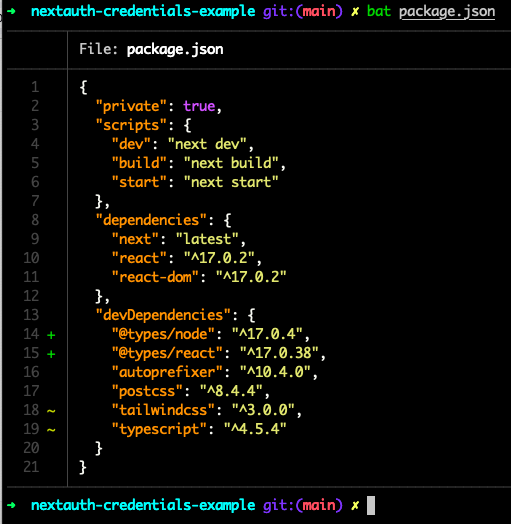
설치가 아주 잘 됐는데요.
이제 아주 중요한 과정이 하나 남아 있습니다.
기본적으로 NextJS는 자바스크립트나 타입 스크립트를 자동으로 구분하는데요.
tsconfig.json 파일이 자동으로 구분하는 바로미터가 됩니다.
이제 다음과 같이 빈 tsconfig.json을 파일을 하나 만듭시다.
touch tsconfig.json
이제 nextjs 앱을 실행시켜 볼까요?
npm run dev

or

yarn dev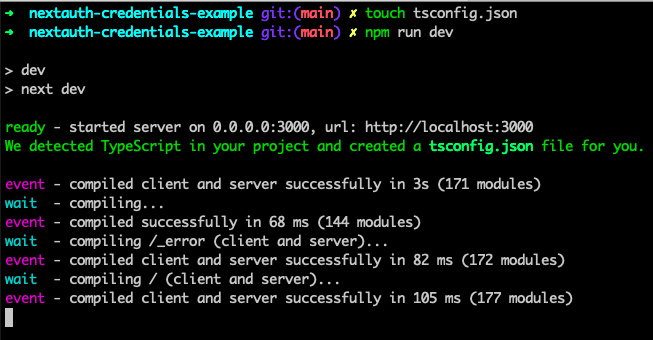
실행했더니 NextJS앱이 자동으로 Typescript을 디텍트(detect)했다고 합니다.
이제 tsconfig.json 파일 안을 들여봐 볼까요?
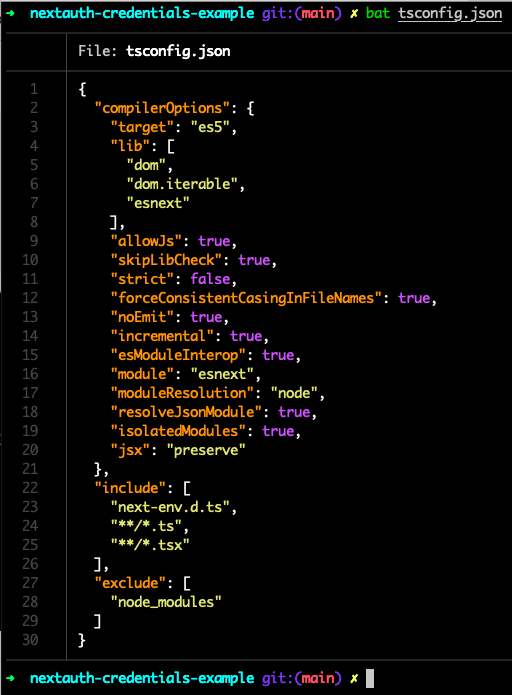
NextJS앱이 자동으로 tsconfig.json 파일을 채워 줬습니다.
그리고 next-end.d.ts 파일도 같이 만들어 준 것도 확인됩니다.
다음 과정으로는 기존의 jsx 파일을 tsx파일로 바꾸는 겁니다.
VS Code를 열어서 이름을 바꿉시다.
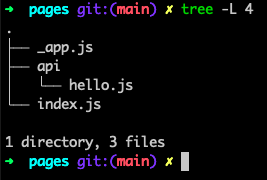
우리가 바꿔야 할 파일은 위 그림처럼 3가지입니다.
첫 번째 _app.js 파일을 _app.tsx로 바꾸고 index.js는 index.tsx파일로 바꾸고, api 폴더의 hello.js는 hello.ts로 이름을 바꾸면 됩니다.
테스트를 하기 전에 먼저 index.tsx파일에서 지저분한 거 다 지우고 한 개만 넣어볼까요?
import Head from "next/head";

export default function Home() {
  return (
    <div className="flex flex-col items-center justify-center min-h-screen py-2">
      <Head>
        <title>Create Next App</title>
        <link rel="icon" href="/favicon.ico" />
      </Head>

      <main className="flex flex-col items-center justify-center w-full flex-1 px-20 text-center">
        <h1 className="text-6xl font-bold">
          Welcome to{" "}
          <a className="text-blue-600" href="https://nextjs.org">
            Next.js!
          </a>
        </h1>
      </main>
    </div>
  );
}
이제 /pages/api/hello.ts 파일을 볼까요?

VS Code가 req에 대해 형식을 추론할 수 없다고 나옵니다.
바로 Typescript의 기능인데요.
다음과 같이 수정해 볼까요?
// Next.js API route support: https://nextjs.org/docs/api-routes/introduction

import { NextApiRequest, NextApiResponse } from "next";

export default function helloAPI(req: NextApiRequest, res: NextApiResponse) {
  res.status(200).json({ name: 'John Doe' })
}
req, res에 대해 type을 next에서 가져와서 지정해 줬습니다.
테스트해볼까요?
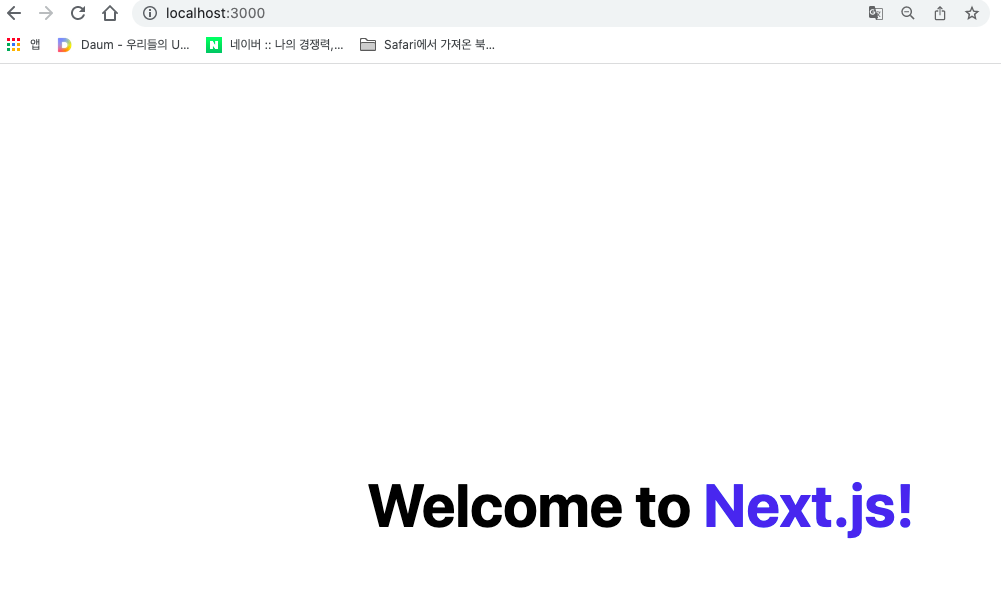
TailwindCSS 가 완벽히 적용되었네요.
api 부분도 확인해 볼까요?
http://localhost:300/api/hello 주소로 들어가도 NextJS의 API 부분이 정상 작동되는 걸 볼 수 있습니다.

이제 NextJS + TailwindCSS + Typescript 가 적용된 빈 템플릿이 완성되었습니다.
'코딩 > React' 카테고리의 다른 글
| NextAuth.js로 NextJS앱에 로그인 로직 만들기 (3) | 2021.12.26 |
|---|---|
| NextJS + Typescript + TailwindCSS 적용 2편 (2) | 2021.12.26 |
| TailwindCSS 강좌 3편 - Card 만들기 (6) | 2021.10.16 |
| Tailwind CSS 강좌 2편 - 반응형 Sidebar Navbar 만들기 (0) | 2021.10.13 |
| Tailwind css 반응형 메뉴 navbar 만들기 (2) | 2021.10.10 |

